


A proud member of the Sustainable Furnishings Council


Color & Sustainability
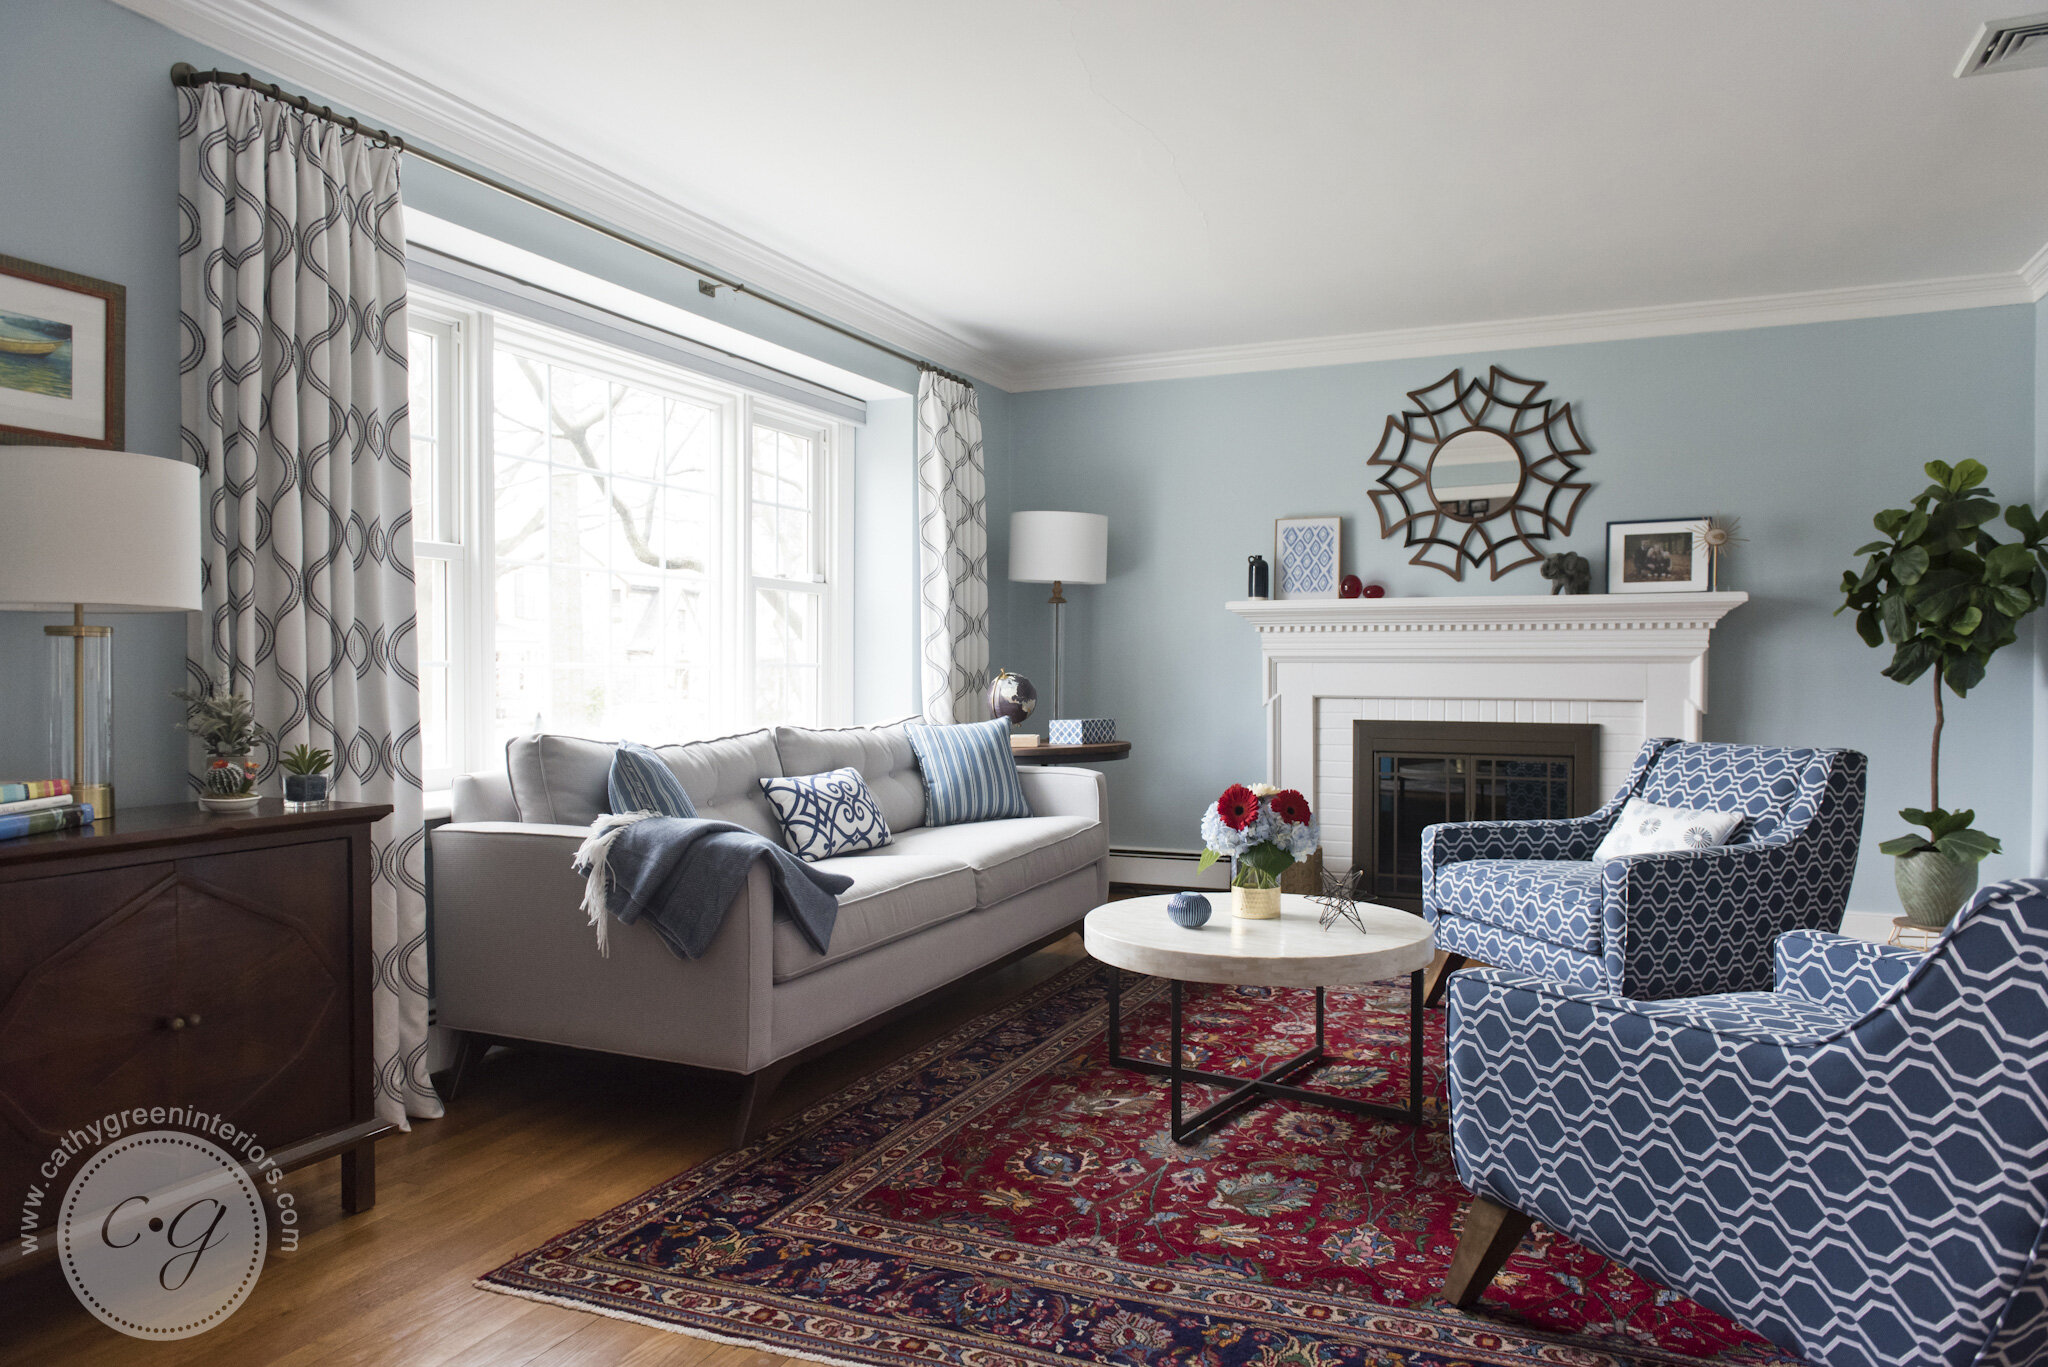
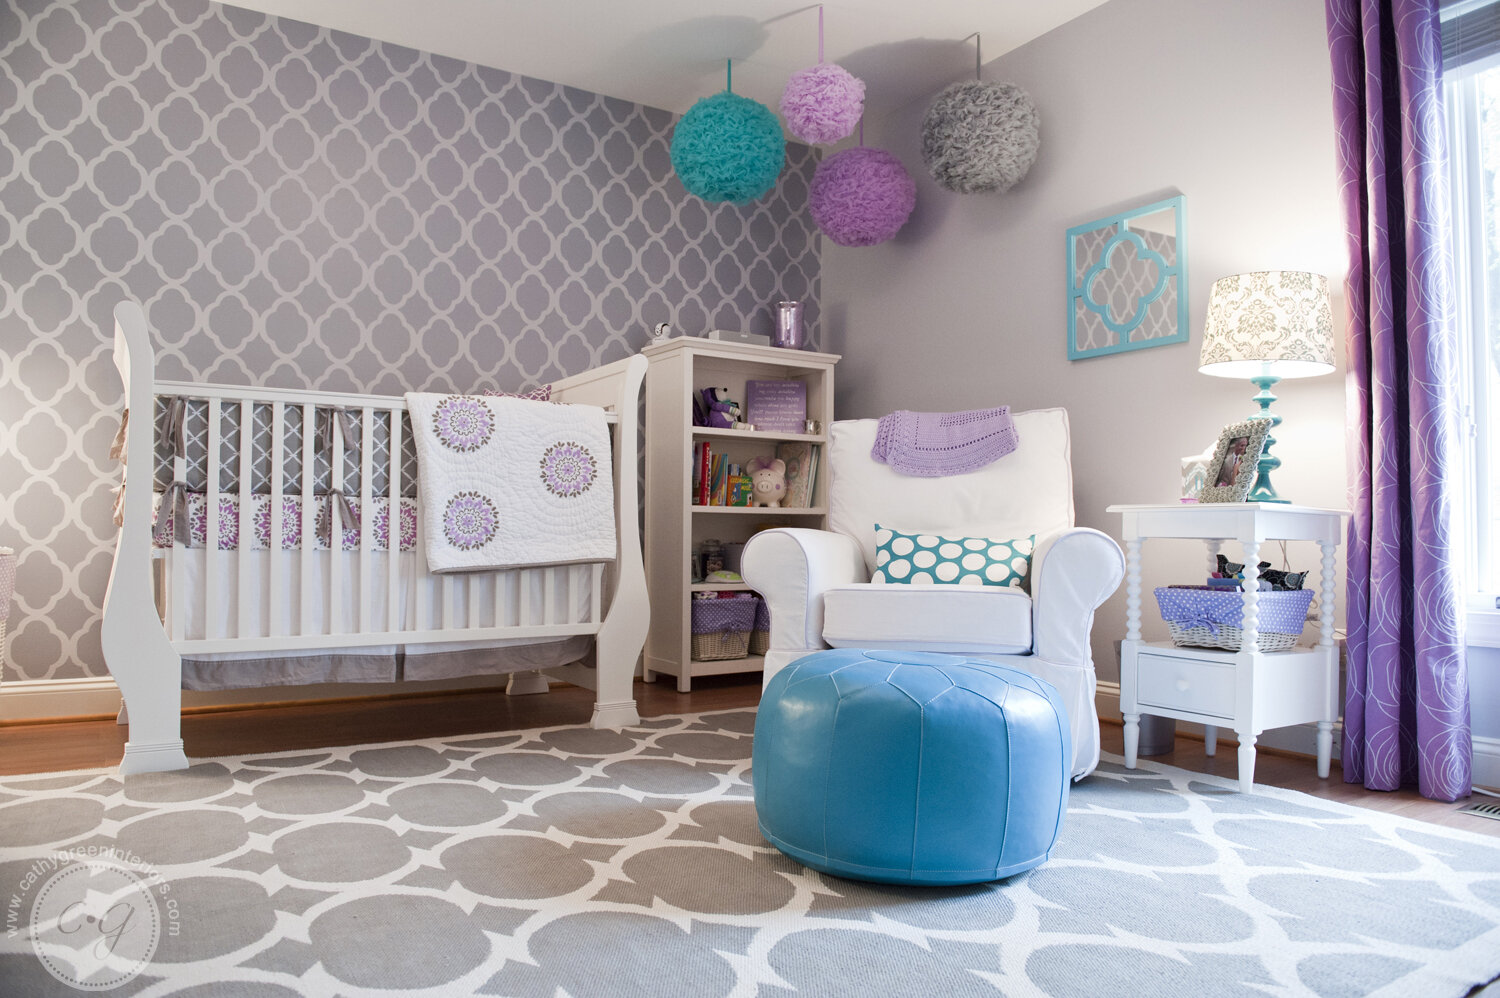
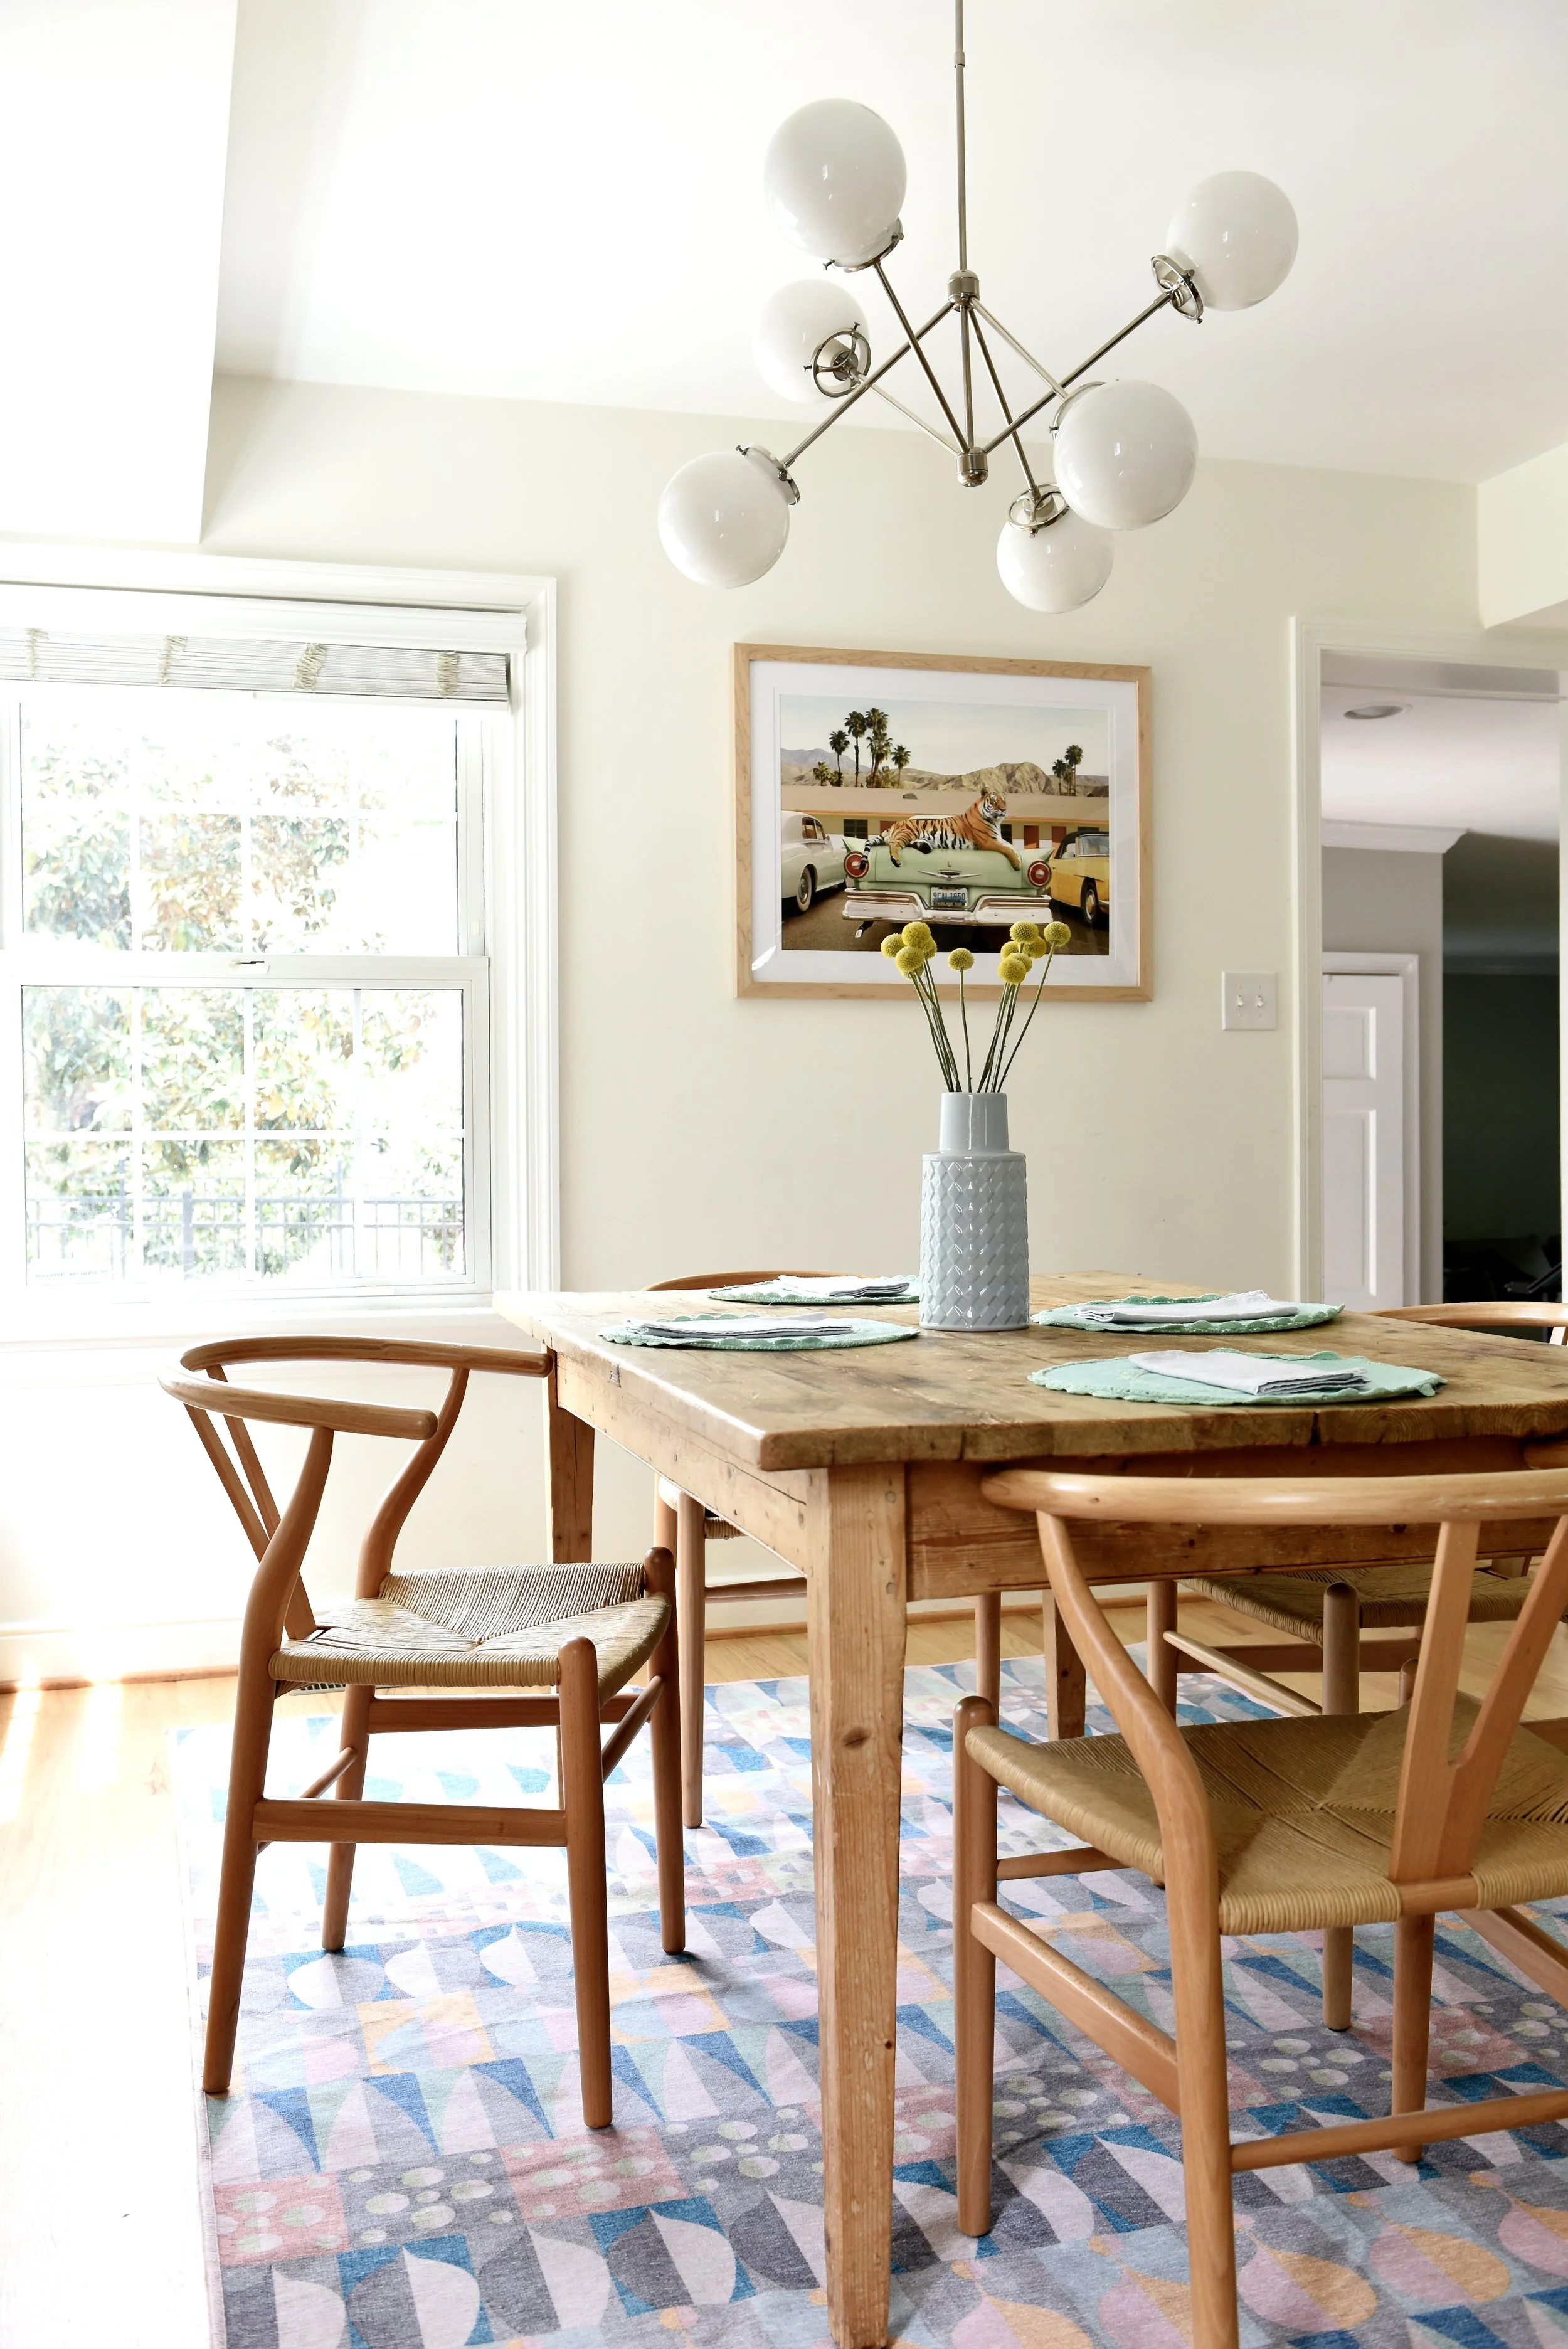
My goal is to design spaces that harmonize vibrant colors, patterns and textures with functional, innovative, and sustainable design. Through client connection and an intentional approach, I create unique and personalized environments for my clients that reflect and empower their lifestyles and passions.
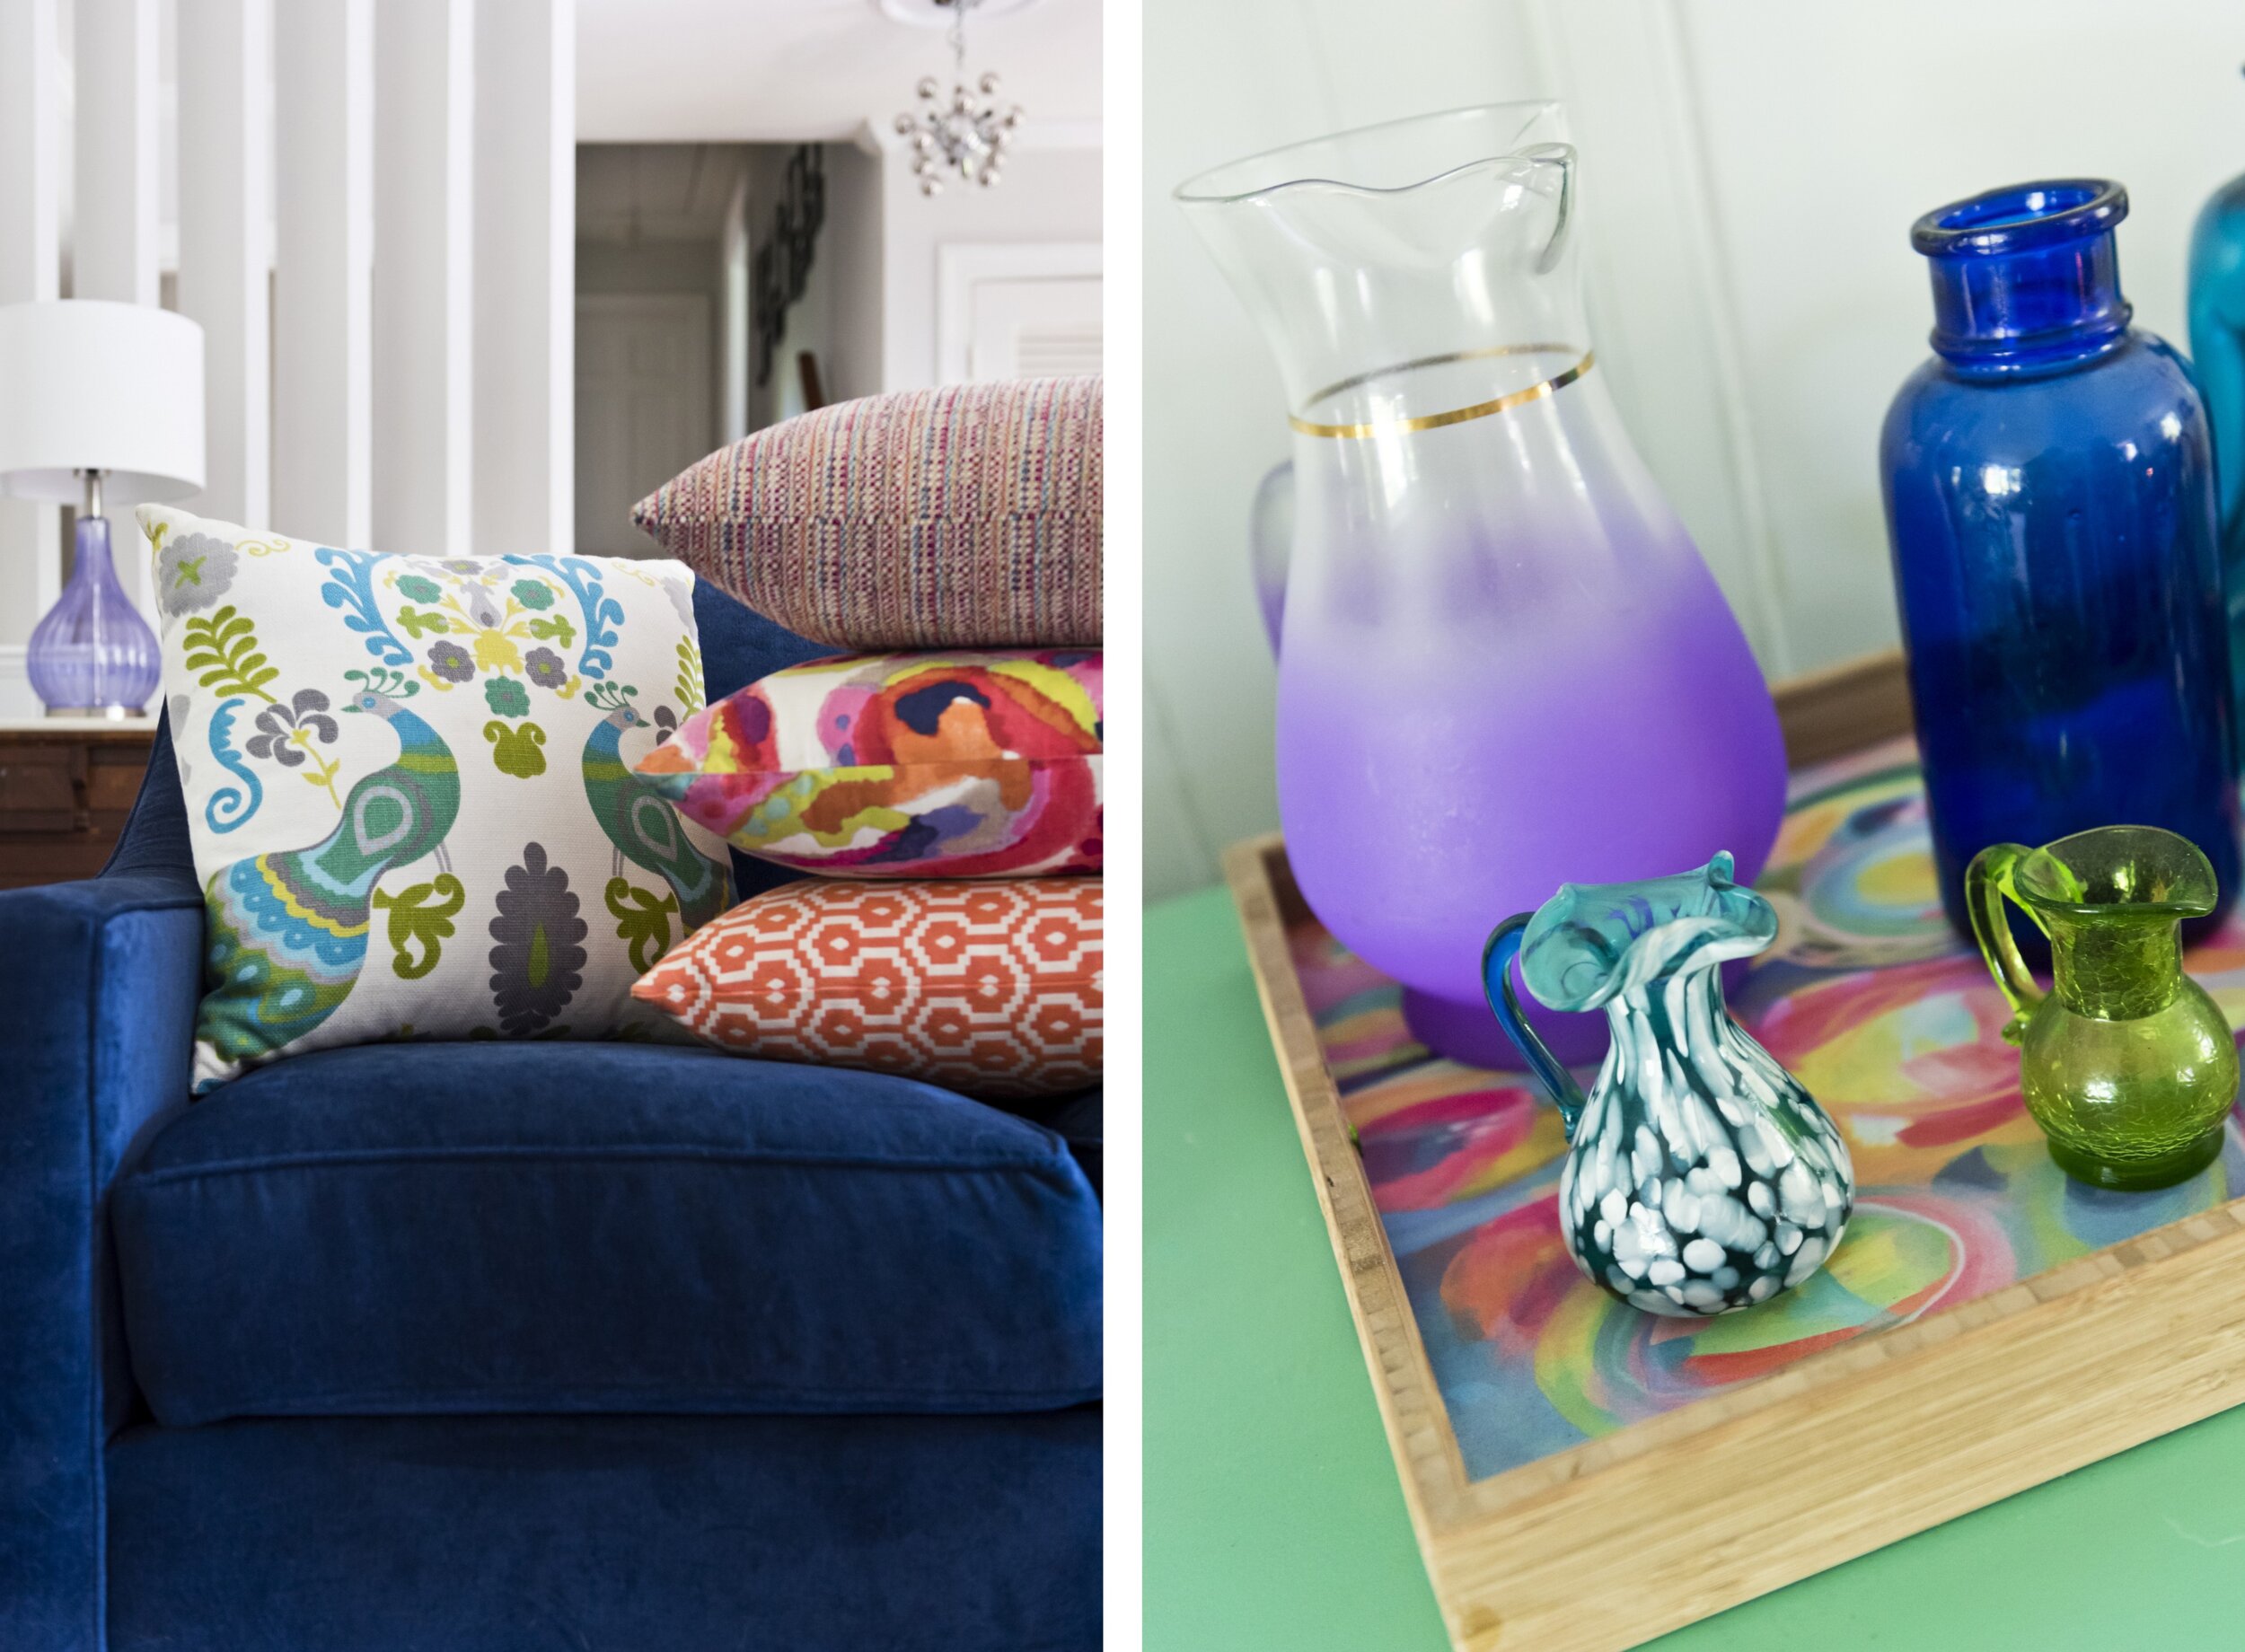
I see the world in color.
Everywhere I go, I notice elements that help to inspire my projects and room designs. With clients, I work to discover who they are and what their color story is. Mixing and matching colors, patterns, shapes, and scales are the visual elements that give a room character and bring it to life. My hope is that the newly designed rooms are true reflections of my clients, their personalities, and what makes them unique.
I also believe in the importance of sustainable design and I am proud to be a member of the Sustainable Furnishings Council. “The vision of SFC is to create a world where the manufacturing, selling, and delivery of home furnishings no longer harm the environment or human health.” The products we purchase for our homes can have lasting impacts on our home environments and the global environment. I help educate my clients on the options available to them in hopes of minimizing the negative impacts on the environment while promoting healthier products and more efficient uses of resources.
“I have had the pleasure of working with Cathy to update several rooms in my home and I hope to work with her again soon. She is professional, honest and a joy to work with.”

 |
